Showing posts with label Remodel. Show all posts

Friday, June 8, 2012

Three Month Catch Up

Three months later, I am making good on my promise and revealing my living room project and the new downstairs with new carpet, new paint and a new couch!

Life has been speeding along and suddenly it's June!  So, what's been happening the past three months you ask?  Well here you go.....

My living room project technically isn't 100% done, but to be honest, if I waited until it was actually done done, it could very well be next year.  It is done to the point where it can be in the living room and enjoyed and really only I would know that it's not done.

Feast your eyes on my lovely new living room chair:

About a year ago, this beauty looked like this:


I found this chair about a year ago at a garage sale.  It was only 25.00 and despite it's mustard colored fake velvet upholstery and slightly sketch/musty smell, I saw the potential. 

Due to the musty smell and probably more so because I just can't say no to other projects, the chair sat in our basement for close to 9+ months.  It gave it time to air out and I finally had the inspiration I needed to get going on the chair.  I stripped the chair.


Yikes, the snow outside gives away that I started this project about 5-6 months ago! Oops.

I then recovered it with fabric I bought the same time I bought my living room pillow fabric.  See living room pillows here.  The original chair had a double welt around all the edges.  Because I don't know how to do welts yet (on my list of things to figure out) I found this awesome nailhead rope at Joann Fabrics.  I used that around the seat cushion.
 

I then took some cording and put that around the back cushion and arms.


Don't you just love it!

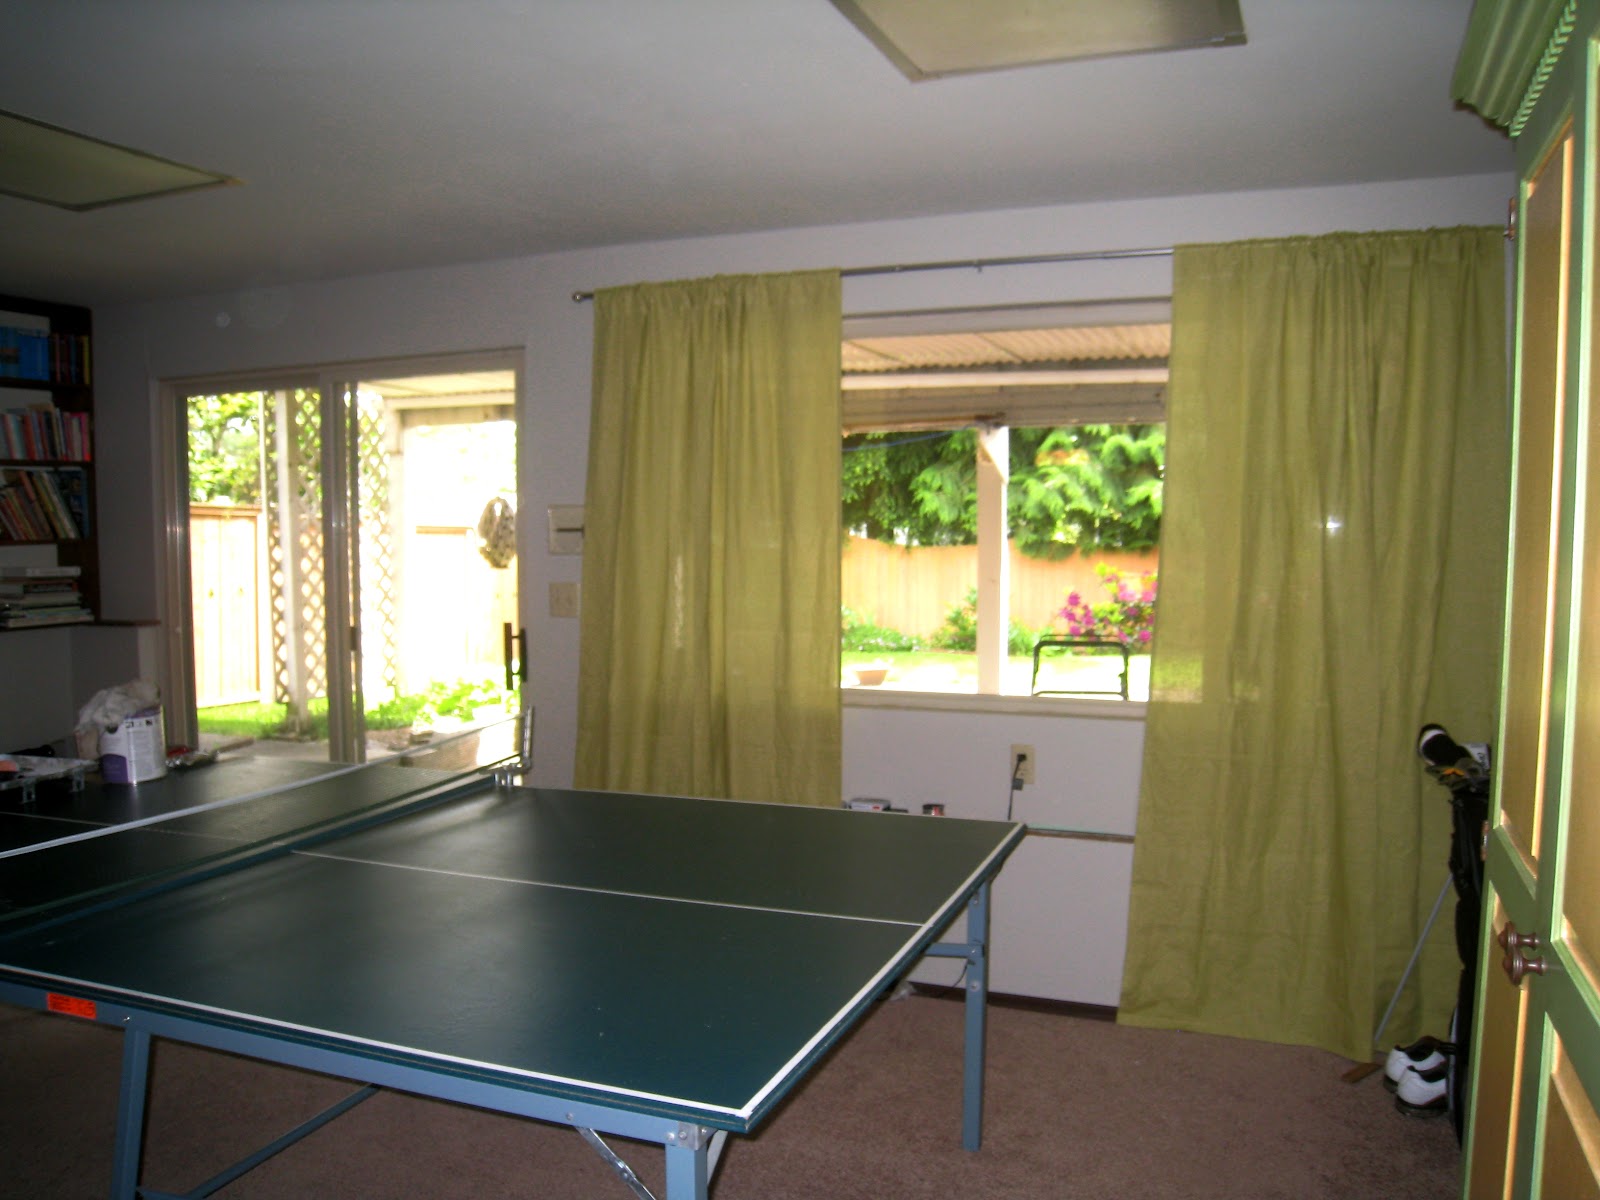
During this time, we were also working on the downstairs.  Once we go the new carpet in, we had the fake wood wall panels removed and the walls smoothed out.  This is the same type of wall paneling that was in our upstairs office.  We had decided to remove the paneling upstairs by ourselves.  HUGE mistake.  The panels had been glued and nailed onto the walls.  I don't have any pictures from that project, but if I did, it would have been a dusty blizzard of wall board and plaster.  It was the biggest mess EVER!  Dave and I have decided that we are not cut out for that type of do-it-yourself project.  So we called in the professionals for this job and it was completely worth it.  Two days, in and out, no mess and it was done!  Amazing how a little money saves us 2 to 3 months of dust and frustration!  After the wallboard was removed, Dave and I painted, got our new couch and moved back in.  The space is so much better and now feels like an actual room that we own and not someones grandparent's basement. 

This is how the space used to look:


And now:


We love spending time down here now!

In other new and exciting things, I just started my own business!  LH Interiors.  I'm down to working two days for my boss.  The other three days I am on my own setting things up and hopefully soon, busy with clients!

My current project is redoing the craft room area and making it more of a design studio space for me.  More to come on that soon.  Or, hopefully sooner than three months from now!  No promises though. :)

Friday, January 13, 2012

From Bathroom Gaah to Bathroom Glam

When we moved into our house, well to be honest, even before we moved into our house, I began to scheme on how I would remodel each room of the house.  The second time we visited the house, before we bought it, I brought my measuring tape to measure rooms so I could draw up floor plans.

Once we moved in, I tried to slowly ease my way into changing things.  Pulling down wallpaper, painting walls, some new furniture and a couple new pieces of art.  And then suddenly, my impatience kicked in and randomly one day I started pulling down the ugly fluorescent light cover that spanned the entire ceiling of the hall bath.  Thus, the bathroom model began.

I have to say that planning out a remodel, thinking about colors and how I want things to look and actually undertaking a remodel are two completely different things.  My dad helped out with electrical and plumbing, but other than that, I did the demo, tiling and painting myself. 

I pretty much gave myself a crash course in remodeling.  Did you know that using a non-powered tile cutter can result in a person going back to the store multiple times to buy at least three more boxes of ceramic tile than what was actually needed to tile the shower surround? Or that prepping a shower surround for tile by putting the mastic on the walls can be one BIG mess?  Putting thick, wet material on a vertical wall equals a large amount everywhere else.  Goodbye one pair of jeans, a mound of rags, probably 20 pounds of broken tile, weeks and weeks of Saturday's, a pair of sunglasses, a water pitcher and a plastic spoon.... But, oh the things I learned.  And now my next undertaking will be some much easier, I hope.

Here are some before shots:


When taking pictures, I forgot to take one of the awful fluorescent ceiling cover.  This is the only picture were you can see a bit of it in the upper left hand corner.


I appreciated my dad's help in this whole project.  I'm pretty sure I couldn't have done this remodel on my own (or for so cheap) without his help!


And...the end product!


I got the floor tile from Tile for Less.  http://tileforless.com/


 All other tile, plumbing fixtures, cabinet hardware, accessories, lighting and paint came from Lowes.  www.lowes.com


To save money, I had the tub refinished versus buying a whole new tub.  I used Advanced Refinishing LLC and I have been so happy with the outcome.  http://www.advancedrefinishingllc.com/


For the walls I used Valspar "Ironwood" and for the cabinet, Valspar "Journey".

And there you have it, my new love.