Saturday, January 28, 2012

Living Room Pillows

When we moved into our new house almost two years ago, we purchased a new sofa and loveseat for our living room.  Both the sofa and the loveseat came with two throwpillows each.


To me, these pillows are nice and okay, as long as you aren't a super picky, things need to look and work just how I picture them in my head type of person.  Fortunately for the the throwpillows, Dave is not this type of person and has been perfectly happy with the throwpillows as they are and could have lived with them the rest of his life.  Unfortunately for the throwpillows, I am just such a person.  Pretty much from day one their time with us was counting down.

About a year ago I found fabrics at Keepsake Cottage Fabrics in Country Village that was just perfect for the look and feel I wanted to go for in the living room.  I have been holding onto those fabrics for living room throwpillows and a chair that I am reupholstering.  Other projects, insert the never ending hall bath project here, consumed my time and I am finally getting to do the living room projects I have had rolling round in my head.

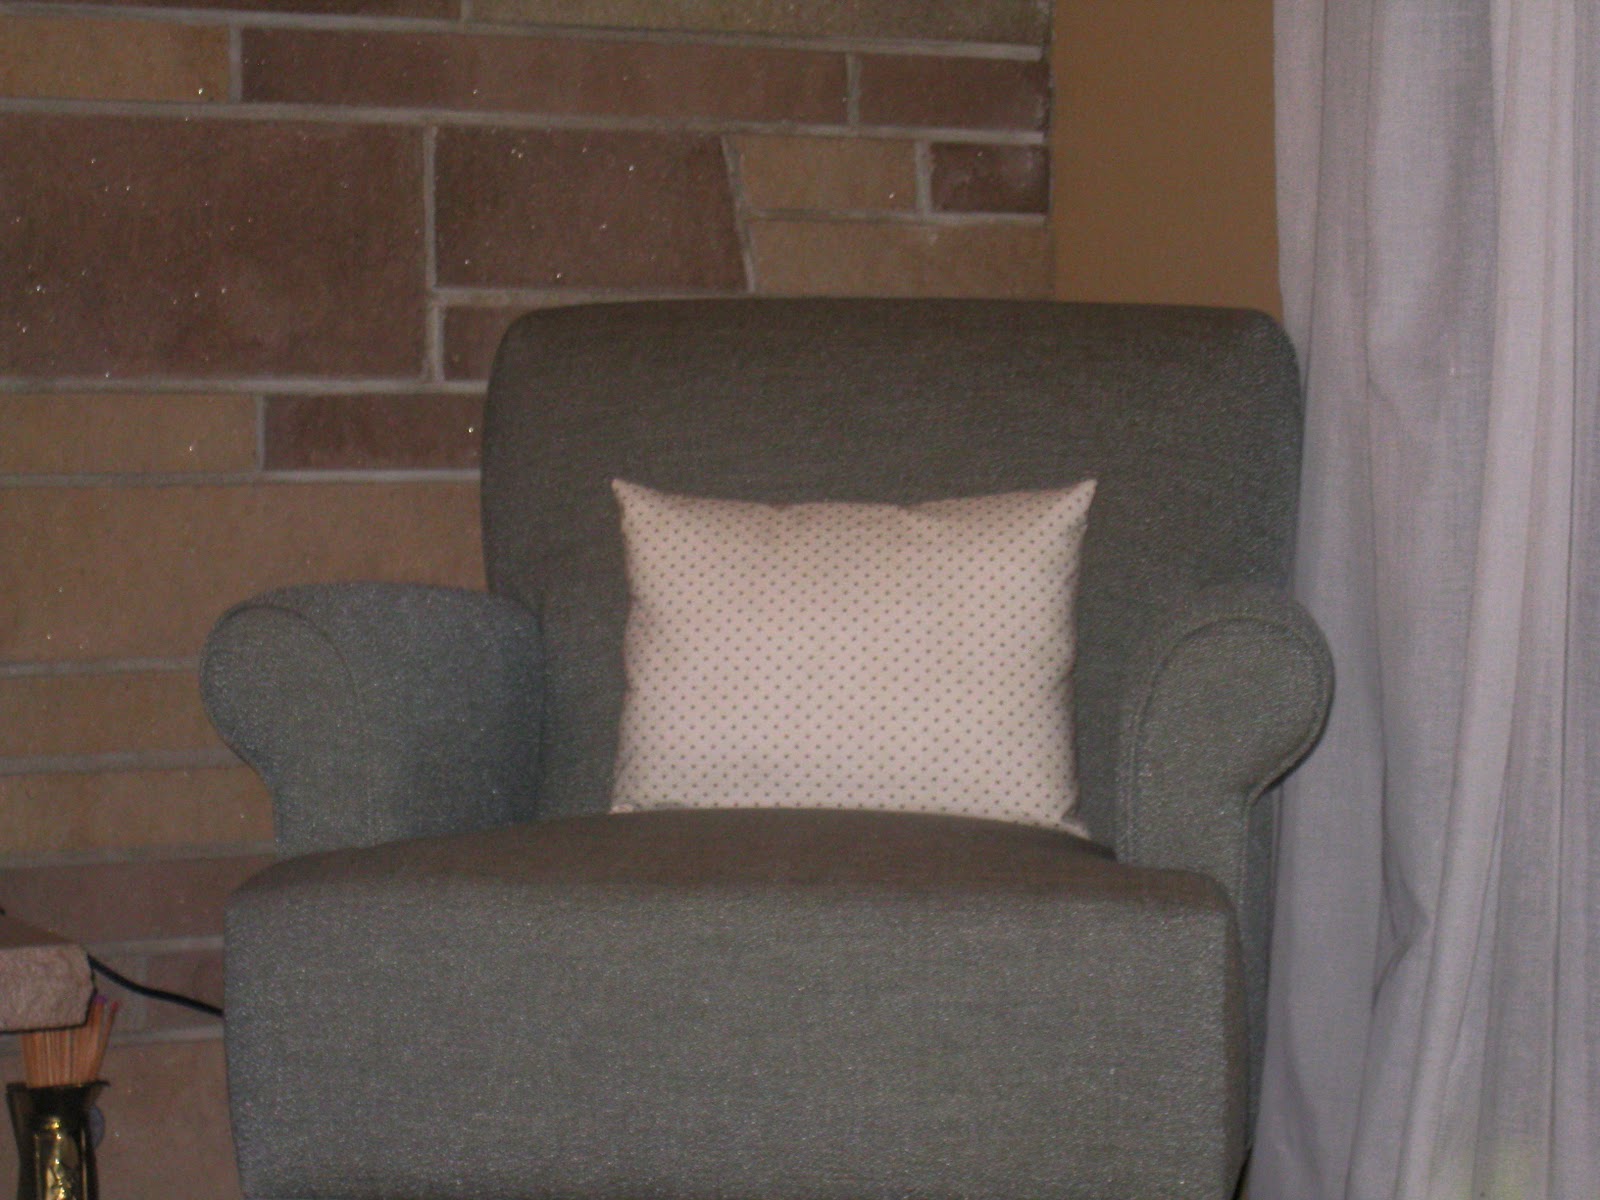
I am proud to say that the throwpillows are complete!


For the four larger throwpillows I was able to reuse the filling from the throwpillows that came with the sofa. 

I pretty much am in love with the new throwpillows and how much more color they add to the room!

The chair reupholstery is in the works and will soon, I hope, make it's grand entrance onto the internet!


Sunday, January 15, 2012

I think I'm addicted

Looking around and wasting hours of time on Pinterest this week, I discovered a blog, Smells Like Home, that shares a recipe for the most amazing, highly addictive double chocolate cookies ever!  You can find the blog and recipe here

I did alter the recipe a bit to factor in my oh so lovely annoying need to avoid dairy.  I also made the cookies normal sized so that it made far more than the 12 giant cookies that Tara made.  I like to think that making the cookies smaller means I can have more than just one.  Right?  Because, let's be honest, I've had so many today I don't even want to tell you the number.  I think I've come up with every possible excuse as to why I need to have another cookie...Dave just ate a cookie, I should eat a cookie; I need a little dessert with lunch; they are quite small, so another one is okay. I even offered Dave a cookie, just so I could have another one.  I really think I have a problem. 

So I figure, it's only fair that I offer this amazing recipe to everyone else.  Here is my altered non dairy version of the recipe:

Ingredients:
  • 1 cup Crisco Baking Sticks cubed (if you can eat dairy, go for the real stuff, butter!)
  • 1 1/4 cups + 2 tbsp granulated sugar
  • 2 eggs
  • 1/2 cup good quality dark cocoa powder
  • 2 1/4 cups all-purpose flour
  • 1/4 tsp Kosher salt
  • 1 teaspoon baking powder
  • 2 1/2 cups semi-sweet Enjoy Life Mega semi-sweet chocolate Mega Chunks (dairy, nut & soy free!)
Instructions:
  1. Preheat the oven to 350˚ F. Line two baking sheets with parchment paper or silicone baking mats.
  2. In the bowl of an electric mixer fitted with the paddle attachment, beat the shortening and sugar together on medium-high speed until light and fluffy, 2-3 minutes. Blend in the eggs one at a time, scraping down the bowl as needed. On low speed, stir in the cocoa powder until well blended. Add the flour, salt and baking powder to the bowl and mix on low speed just until incorporated. Fold in the chocolate chips with a spatula. Transfer the dough to a work surface and with slightly damp hands to prevent sticking, knead briefly by hand to be sure the ingredients are well combined.
  3. Roll each portion of dough into a 1" ball and flatten just slightly into a disc. Place on the prepared baking sheets, two inches apart.
  4. Bake 8-9 minutes, until you’re just able to lift the edges up off the pan without breaking the dough. Let cool on the baking sheets 5-10 minutes, then transfer to a wire rack to cool completely.


Seriously, you need to try these.  Go and make some now!

Friday, January 13, 2012

From Bathroom Gaah to Bathroom Glam

When we moved into our house, well to be honest, even before we moved into our house, I began to scheme on how I would remodel each room of the house.  The second time we visited the house, before we bought it, I brought my measuring tape to measure rooms so I could draw up floor plans.

Once we moved in, I tried to slowly ease my way into changing things.  Pulling down wallpaper, painting walls, some new furniture and a couple new pieces of art.  And then suddenly, my impatience kicked in and randomly one day I started pulling down the ugly fluorescent light cover that spanned the entire ceiling of the hall bath.  Thus, the bathroom model began.

I have to say that planning out a remodel, thinking about colors and how I want things to look and actually undertaking a remodel are two completely different things.  My dad helped out with electrical and plumbing, but other than that, I did the demo, tiling and painting myself. 

I pretty much gave myself a crash course in remodeling.  Did you know that using a non-powered tile cutter can result in a person going back to the store multiple times to buy at least three more boxes of ceramic tile than what was actually needed to tile the shower surround? Or that prepping a shower surround for tile by putting the mastic on the walls can be one BIG mess?  Putting thick, wet material on a vertical wall equals a large amount everywhere else.  Goodbye one pair of jeans, a mound of rags, probably 20 pounds of broken tile, weeks and weeks of Saturday's, a pair of sunglasses, a water pitcher and a plastic spoon.... But, oh the things I learned.  And now my next undertaking will be some much easier, I hope.

Here are some before shots:


When taking pictures, I forgot to take one of the awful fluorescent ceiling cover.  This is the only picture were you can see a bit of it in the upper left hand corner.


I appreciated my dad's help in this whole project.  I'm pretty sure I couldn't have done this remodel on my own (or for so cheap) without his help!


And...the end product!


I got the floor tile from Tile for Less.  http://tileforless.com/


 All other tile, plumbing fixtures, cabinet hardware, accessories, lighting and paint came from Lowes.  www.lowes.com


To save money, I had the tub refinished versus buying a whole new tub.  I used Advanced Refinishing LLC and I have been so happy with the outcome.  http://www.advancedrefinishingllc.com/


For the walls I used Valspar "Ironwood" and for the cabinet, Valspar "Journey".

And there you have it, my new love. 

Wednesday, January 11, 2012

Hello Blog World!

It's really hard for me to believe that I am actually writing a blog.  I remember growing up always trying to keep a diary, and every time failing.  I probably have five different diary type books at my parent's home all with two to five pages filled up.  So to actually decide and commit to writing a blog is a really big deal!

My goal with this blog is to have a place where I document and showcase my design work, mainly on my own home to:
  1. Keep track of everything I am doing and the slow evolution of our house.
  2. Get my name and talents out there for the whole world to see! 
Also, I might just throw in some of life's happenings to spice things up. :)

So here it goes.  It's official.  I have a blog.